Setting up SDL in Anjuta
Last Updated 6/14/11
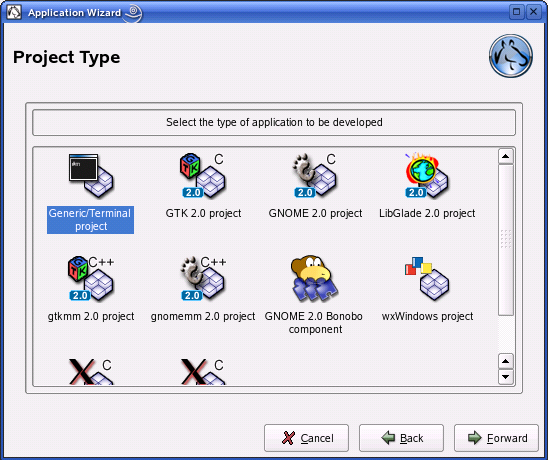
1)Start up Anjuta and start a new project.
 This will start up the application wizard.
2)Set your new project to be a generic/terminal project.

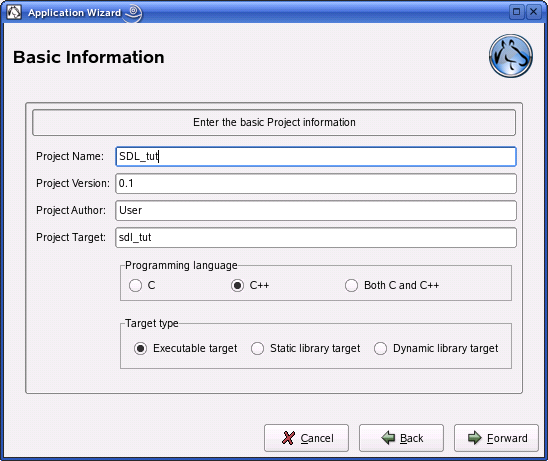
3)Hit next then make sure it's a C++ project:
 Everything else with the application wizard should be self explanatory.
4)Once the application wizard is done creating your project go to the compiler and linker settings:

5)Under the libraries tab, type in:
6)Then hit add:

7)The close the window and hit yes on the prompt that pops up:

8)Paste the following code into the source file Anjuta provided for you:

2)Set your new project to be a generic/terminal project.

3)Hit next then make sure it's a C++ project:

4)Once the application wizard is done creating your project go to the compiler and linker settings:

5)Under the libraries tab, type in:
SDL

6)Then hit add:

7)The close the window and hit yes on the prompt that pops up:

8)Paste the following code into the source file Anjuta provided for you:
#include "SDL/SDL.h"
int main( int argc, char* args[] )
{
//Start SDL
SDL_Init( SDL_INIT_EVERYTHING );
//Quit SDL
SDL_Quit();
return 0;
}
9)Now save the source file and build your project.
If there's no errors, you're finished.
Otherwise go back and make sure you didn't skip a step.